
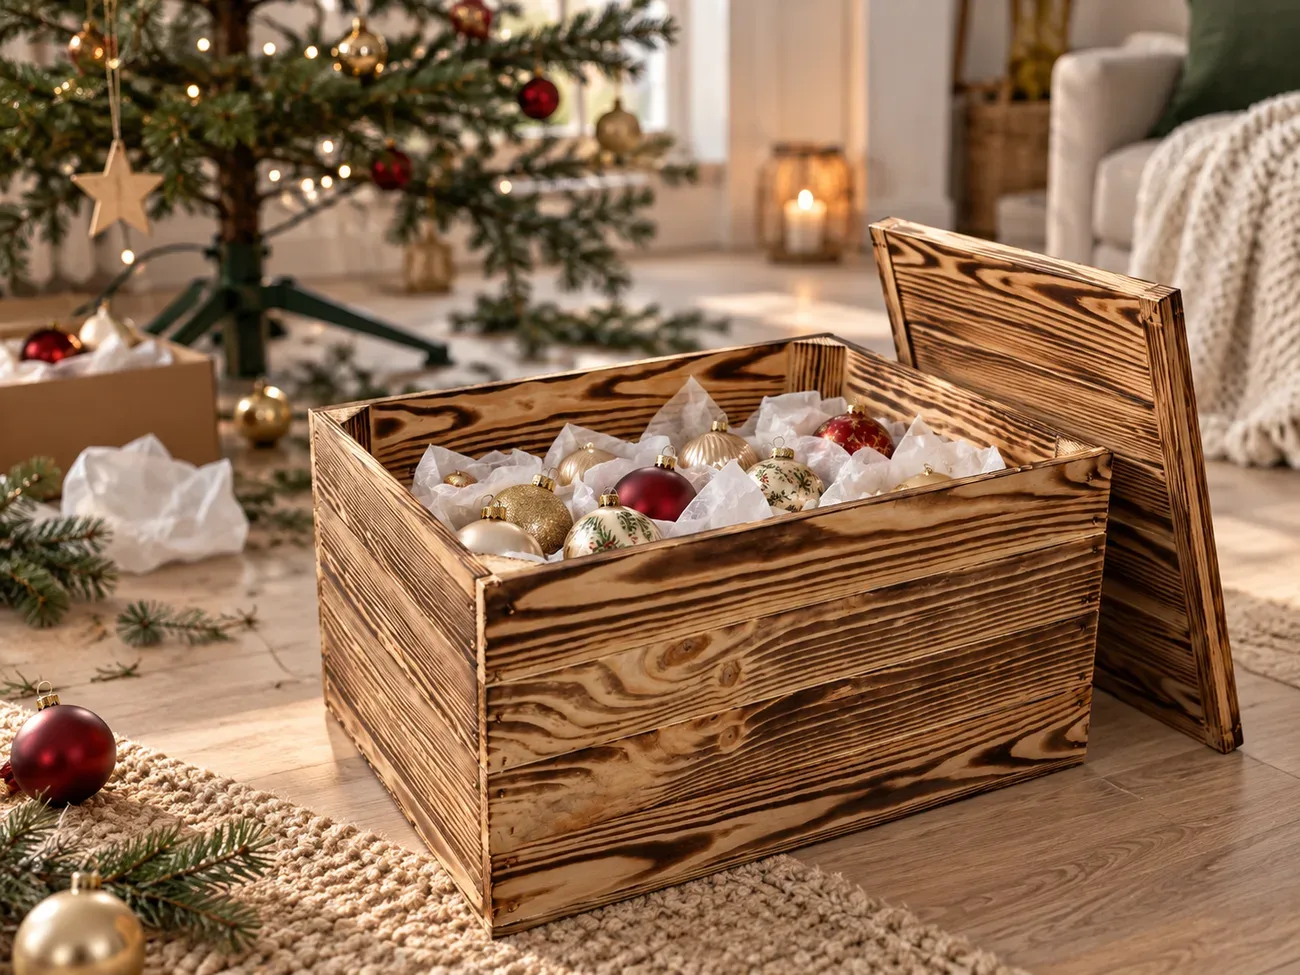
A Christmas centrepiece is the decoration that, in many homes, really marks the start of the festive season. A few fir sprigs, some pine cones, a candle and a touch of red are all it takes for your table, sideboard or windowsill to smell of the forest and of Christmas. And if you swap the plastic tray for a small wooden crate, your centrepiece gets a sturdy, natural base that looks beautiful all through December and stays useful long after the holidays.
In this guide we show you how to make a Christmas table centrepiece step by step – in a crate, in glass, as a wreath and in a minimalist version. You will find a list of materials, simple instructions, six variations (from a classic centrepiece for the Christmas Eve table to an Advent arrangement with four candles and a version for children) and ideas for other wooden Christmas decorations for inside and outside your home.
We have been making crates in our family workshop since 2016, and every year before Christmas we see how many of them turn into festive centrepieces, covers for Christmas tree pots and boxes for decorations. So we have gathered the best ideas in one place – so you can create a beautiful decoration in a single evening.
Why make a Christmas centrepiece in a wooden crate?
Christmas centrepieces are usually arranged on floral foam in a shallow bowl or on a tray. That works, but a crate gives you more: a clear shape, stability and a warm, natural character that suits greenery, pine cones and twinkling lights. Wood and fir simply belong together – there is nothing to prove here.
A stable base that will not tip over on the table
Solid pine is heavier than a plastic tray, so your centrepiece stands firm even when someone moves the serving dishes around the Christmas Eve table. The straight sides keep the sprigs in check, and the whole arrangement has neat, defined edges – it looks elegant and properly “finished”.
Two finishes – two moods
Light, sanded natural crates create an airy, Scandinavian look – they work beautifully with white, silver, eucalyptus and cotton stems. Burnt-effect crates have a darker colour and a pronounced grain that turns warm and rustic in candlelight and fairy lights. They pair best with classic red, gold, fir and dried oranges.
A decoration that lasts for years
The greenery gets replaced after Christmas, but the crate stays. In January you can store baubles and lights in it, in spring potted herbs, and next December arrange a centrepiece in it all over again. One base, many seasons.
Types of Christmas centrepieces – which one to choose?
Before you start, think about where the centrepiece will stand and how much time you want to spend on it. A Christmas table centrepiece needs to be low so that guests can see each other. One for a sideboard can be taller and more striking. And one for the front door has to be light and able to withstand the cold. The table below will help you choose.
| Type of centrepiece | Where it works | Time needed | Difficulty | Durability |
|---|---|---|---|---|
| Type of centrepieceCentrepiece in a small wooden crate | Where it worksChristmas Eve table, sideboard, windowsill | Time neededapprox. 1 hour | DifficultyEasy | DurabilityVery good – foam and greenery are easy to refresh |
| Type of centrepieceChristmas arrangement in glass (jar, vase, lantern) | Where it worksShelf, coffee table, window | Time needed30–45 minutes | DifficultyVery easy | DurabilityGood – the glass protects the decoration from dust |
| Type of centrepieceChristmas wreath for the door or the table | Where it worksFront door, wall, centre of the table | Time needed1.5–2 hours | DifficultyMedium | DurabilityVery good outdoors, in the cold |
| Type of centrepieceMinimalist centrepiece (sprig, candle, pine cone) | Where it worksModern interiors, small tables | Time needed15–20 minutes | DifficultyVery easy | DurabilityGood – few elements, easy to replace |
| Type of centrepieceAdvent centrepiece with 4 candles | Where it worksLiving room table, coffee table | Time neededapprox. 1–1.5 hours | DifficultyEasy | DurabilityThe whole of Advent, with fresh greenery added |
If this is your first centrepiece, start with the crate version. It gives you the most freedom, forgives mistakes and looks impressive even if you have no floristry experience.
Materials – what you need for your centrepiece
You will find most of the materials in the garden, on a woodland walk (only collect what is lying on the ground, or sprigs from your own trees), in the kitchen and in your box of decorations. The rest means a few small purchases from a florist or craft shop. Here is a rough list for one centrepiece in a small crate.
| Material | What it is for | Approximate cost |
|---|---|---|
| MaterialFloral foam (1–2 bricks) | What it is forHolds the sprigs and candles, retains moisture | Approximate costapprox. PLN 5–10 |
| MaterialPlastic sheet or bin bag | What it is forLines the crate, protects the wood from water | Approximate costalready at home |
| MaterialSprigs of fir, spruce, thuja, box | What it is forThe green base of the centrepiece | Approximate costPLN 0 from the garden or approx. PLN 10–20 from a florist |
| MaterialPine cones, nuts, acorns | What it is forNatural accents | Approximate costPLN 0 from a walk |
| MaterialDried orange slices, cinnamon sticks, star anise | What it is forColour and scent | Approximate costapprox. PLN 5–15 |
| MaterialCandle or candles (ideally thick pillar candles) | What it is forThe main focal point | Approximate costapprox. PLN 10–30 |
| MaterialBaubles, bows, ribbon, jute twine | What it is forDecoration and colour | Approximate costfrom your own stash or approx. PLN 10–20 |
| MaterialFloral wire, cocktail sticks, hot glue gun | What it is forFixing the elements in place | Approximate costapprox. PLN 10–20 (lasts many seasons) |
As you can see, a beautiful centrepiece does not have to cost much. What matters most is your time and your idea – and the wooden crate will serve you for many Christmases to come.
How to make a Christmas centrepiece in a wooden crate – step by step
Here is a simple way to make a Christmas table centrepiece in a small crate. A small 30×20×15 cm crate is perfect for this version – it is low, so it does not block your guests’ view, yet roomy enough to hold the foam, the greenery and two or three candles. The whole thing will take you about an hour.
- Line the crate with plastic. Cover the base and sides with plastic sheet or a cut-open bin bag, leaving a little sticking out over the edge – you will trim the excess at the end. This keeps moisture from the foam away from the wood.
- Soak the floral foam. Place it on the surface of the water and let it sink by itself – do not push it under, or dry pockets will remain inside. This usually takes a minute or two.
- Fit the foam to the crate. Cut it with a knife so that it fills the inside and sits 1–2 cm above the rim. That way you can also push sprigs in slightly from the side, and the centrepiece looks lush rather than flat.
- Place the candles first. Glue or tape 3–4 cocktail sticks to the base of each candle and push them into the foam. Space the candles well apart from each other and from the edges – so that the greenery can never reach the flame.
- Build the green base. Cut short fir sprigs (8–15 cm) at an angle and push them into the foam – first along the edges, angled slightly downwards to hide the crate from above, then gradually higher towards the centre. The foam should disappear beneath the greenery.
- Add a second type of greenery. A few sprigs of thuja, box or eucalyptus give the centrepiece depth and an interesting texture. You only need a little – it is the backdrop, not the star.
- Arrange the accents in groups. Attach pine cones, baubles, oranges and cinnamon with floral wire or on cocktail sticks. They look best in groups of three rather than spaced out evenly one by one – just as in nature.
- Add colour and light. A ribbon bow, red decorative berries, a few sprigs dusted with artificial snow. If you like, you can weave a thin string of battery-powered LED lights through the greenery.
- Finish and check. Trim the protruding plastic, turn the crate round and look at it from every side – at the table, guests will see it from all angles. Fill any gaps with small sprigs.
Every two or three days, gently water the foam (a few spoonfuls poured in at the edge are enough), and the greenery will stay fresh and fragrant for a long time.
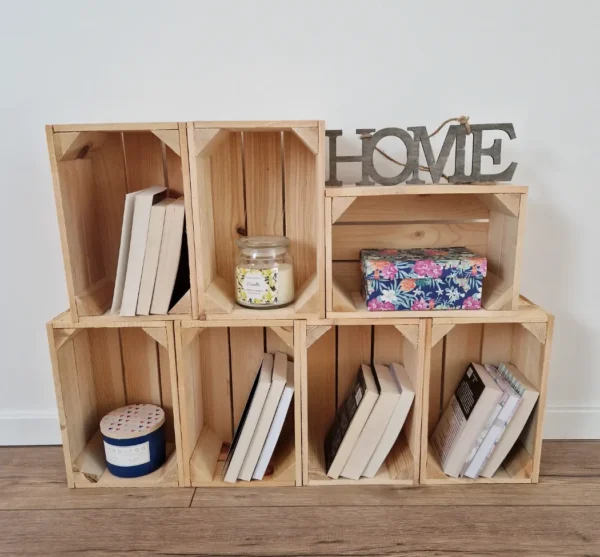
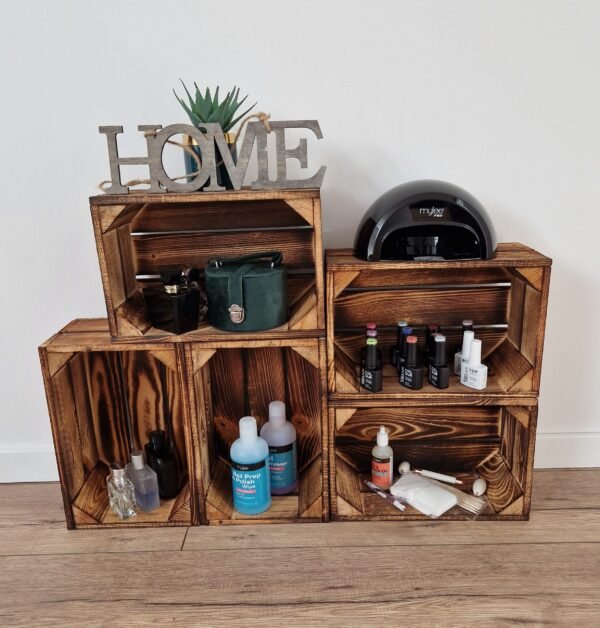
Small crates for a Christmas centrepiece
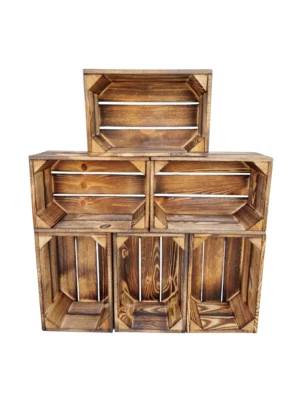
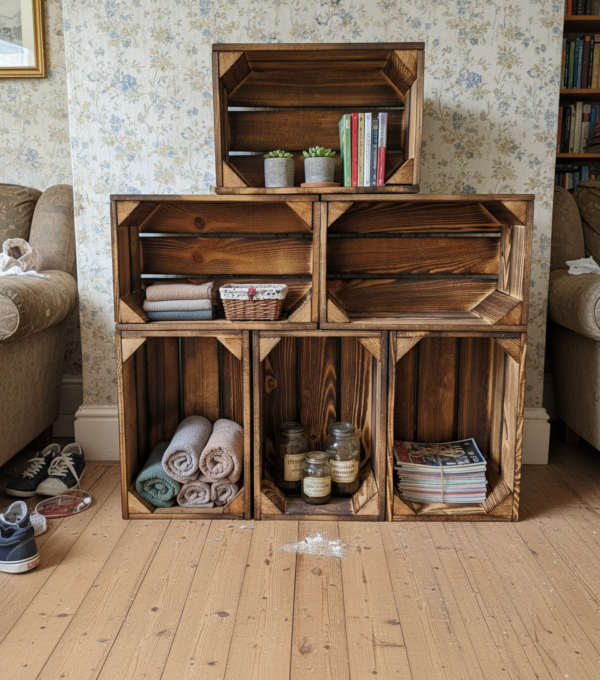


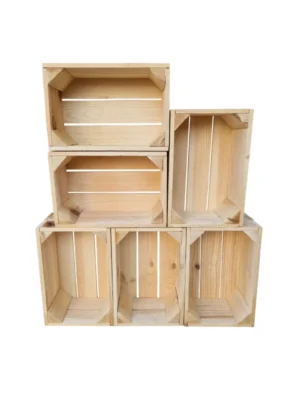

6 ideas for Christmas centrepieces for the table and beyond
The same technique, a completely different effect – it all depends on the colours, the extras and the size of the crate. Below are six variations you can make following the instructions above, simply by changing the materials.
1. A classic centrepiece for the Christmas Eve table
Red, green and gold – colours that have been linked with Christmas Eve for generations. Fill a burnt-effect crate with dense fir, two red candles, a few pine cones, dried oranges, cinnamon sticks and small gold baubles. You can tuck a few ears of wheat or wisps of hay between the sprigs – a lovely nod to the tradition of placing hay under the tablecloth.
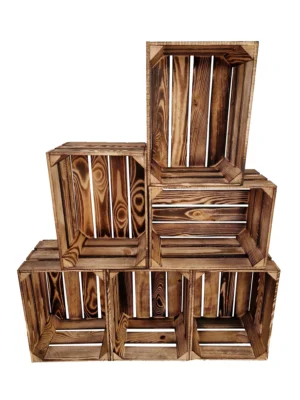
A centrepiece for the Christmas Eve table should be long and low so that it does not get in the way of conversation or serving food. On a longer table you can line up two or three small crates – it looks very striking and is practical too, as each one is easy to move. A set of small burnt-effect crates measuring 30×20×15 cm works brilliantly here.
2. Modern and elegant Christmas table centrepieces
Elegant Christmas centrepieces rely on a restrained palette: green, white and one metallic accent – gold, copper or silver. Instead of lots of extras, choose a few bold ones: a tall white candle, eucalyptus stems, matt baubles in a single colour and a few cotton stems.
Modern Christmas table centrepieces look best in a light, natural crate or a white one – the clean lines of the wood and plenty of space between the elements create a look straight out of an interiors magazine. There is just one rule: less, but better.
3. A Scandinavian centrepiece
White, grey, pale wood and lots of greenery. Fill a natural crate with fir and spruce sprigs, white candles, a few pine cones dusted with white paint, reindeer moss and small wooden stars or hearts. This kind of centrepiece suits bright interiors, white tablecloths and linen napkins – it is calm, warm and cosy.
4. An Advent table centrepiece with 4 candles
An Advent centrepiece is a traditional decoration that counts down the time to Christmas: on each Sunday of Advent, one more candle is lit. In 2026 the first Sunday of Advent falls on 29 November – so it is a good idea to have your centrepiece ready a few days earlier.
For this version, choose a slightly larger, oblong crate, such as a 35×25×19 cm crate, so that the candles can stand at safe distances. Set them in a row or a square, anchor each one firmly in the foam and keep the greenery cut short around them. The candles can all be one colour or – following tradition – three purple and one pink for the third Sunday.
With an Advent centrepiece, safety rules are especially important, because the candles are lit again and again for almost four weeks and the greenery dries out over time. Mist the greenery regularly, remove dry sprigs from under the candles, place the centrepiece on a stable, non-flammable surface and always put the candles out when you leave the room. If you prefer complete peace of mind, choose four LED candles.
5. A Christmas door decoration and outdoor decorations
A Christmas wreath on the door is the first decoration your guests see – and the best welcome on the doorstep. You can make one on a straw or wicker ring: wrap it with bunches of fir sprigs, secure them with wire and add pine cones, a bow and a few little bells. Outdoors, in the cold, a door wreath like this will usually last much longer than in a warm house.
You can also build outdoor Christmas decorations from crates. A larger burnt-effect crate placed by the entrance, filled with spruce sprigs, big pine cones, a sledge or a lantern, looks like something from a winter postcard. A 39×29×24 cm crate works well for this, or two arranged in steps. Outdoors, use only lights designed for outdoor use or LED lanterns.
6. A Christmas centrepiece for children – made together at the table
DIY Christmas decorations are a wonderful activity for a December evening with the children. Give the little ones a ready crate with foam and let them push in the sprigs themselves, along with glitter-painted pine cones, gingerbread on sticks, felt stars and paper angels. Replace the candles with LED lights – then the children can happily play with the decoration.
Their centrepiece can then go in the child’s bedroom or on the Christmas Eve table next to the “grown-up” one – the children will proudly show the guests what they made all by themselves. Handmade Christmas decorations made by children have something you simply cannot buy.
A Christmas arrangement in glass – a quick alternative
A Christmas arrangement in glass is a last-minute decoration that looks as if it took a lot of work. All you need is a large jar, a vase, a glass globe or a metal lantern with glass panes. Pour coarse salt or artificial snow into the bottom, add a small fir sprig, a pine cone, two or three baubles and a thin string of battery-powered LED lights. Done.
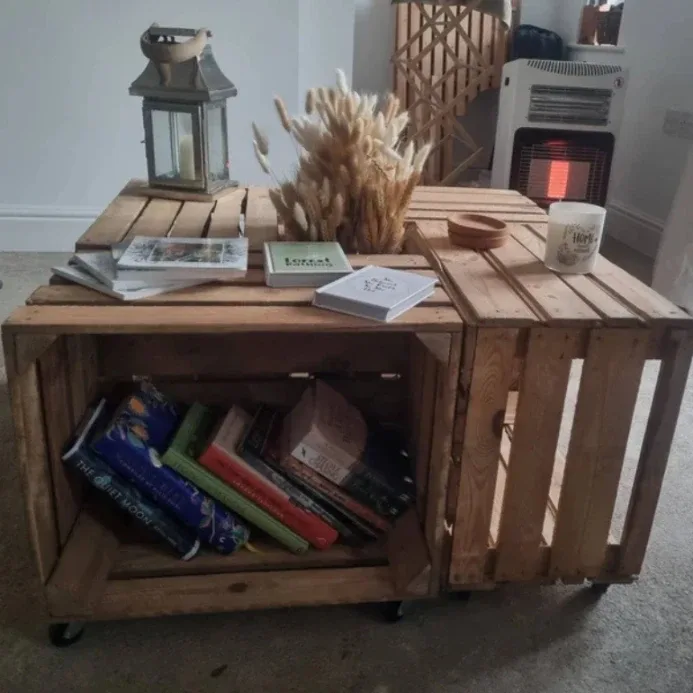
Modern Christmas arrangements in glass look great on a coffee table, in a window or on a shelf. And if you stand the lantern on a wooden crate or a wooden tray, you get an interesting combination of glass, metal and warm pine – as in the photo below.
Wooden Christmas decorations for the home – more ideas
A centrepiece is just the beginning. Wooden crates let you create many other Christmas decorations that bring warmth to your home and suit any style – from rustic to modern.
- A cover for a small living Christmas tree. A potted Christmas tree placed in a burnt-effect crate looks far nicer than in a plastic pot. After Christmas you can plant it in the garden.
- A crate under the tree. A large crate beneath the tree makes an elegant base for presents and a great place to keep spare baubles and lights close at hand.
- A decoration for a sideboard or hallway console. A crate with greenery, a small lantern and a few pine cones welcomes guests as soon as they step inside.
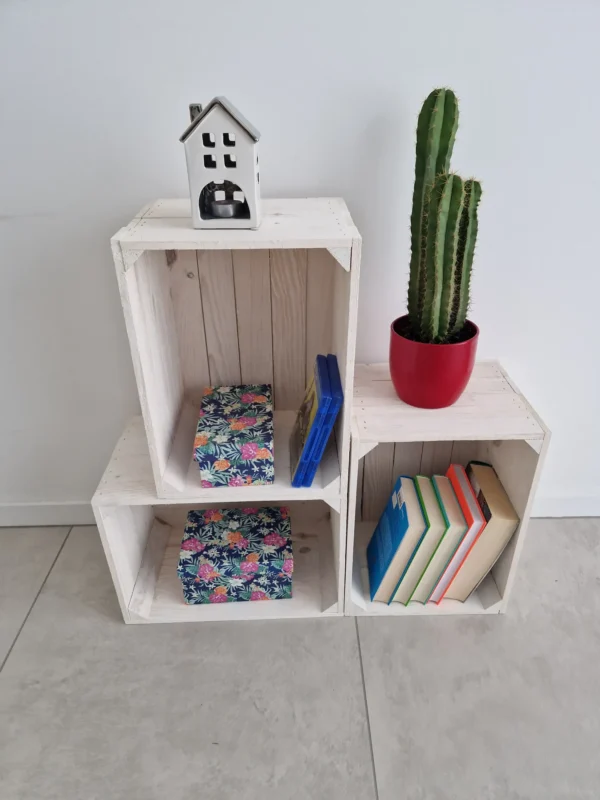
- A festive coffee table. Two crates placed side by side, with books inside and a lantern on top, make an atmospheric corner for winter evenings.
- A winter balcony decoration. A crate with spruce sprigs, pine cones and solar lights – beautiful all winter long, not just in December.
- A blanket and hot chocolate corner. A crate next to an armchair for blankets, books and Christmas mugs creates a cosy atmosphere. If you have a fireplace, a larger crate can also hold logs – we write more about this in our guide log basket for the fireplace.
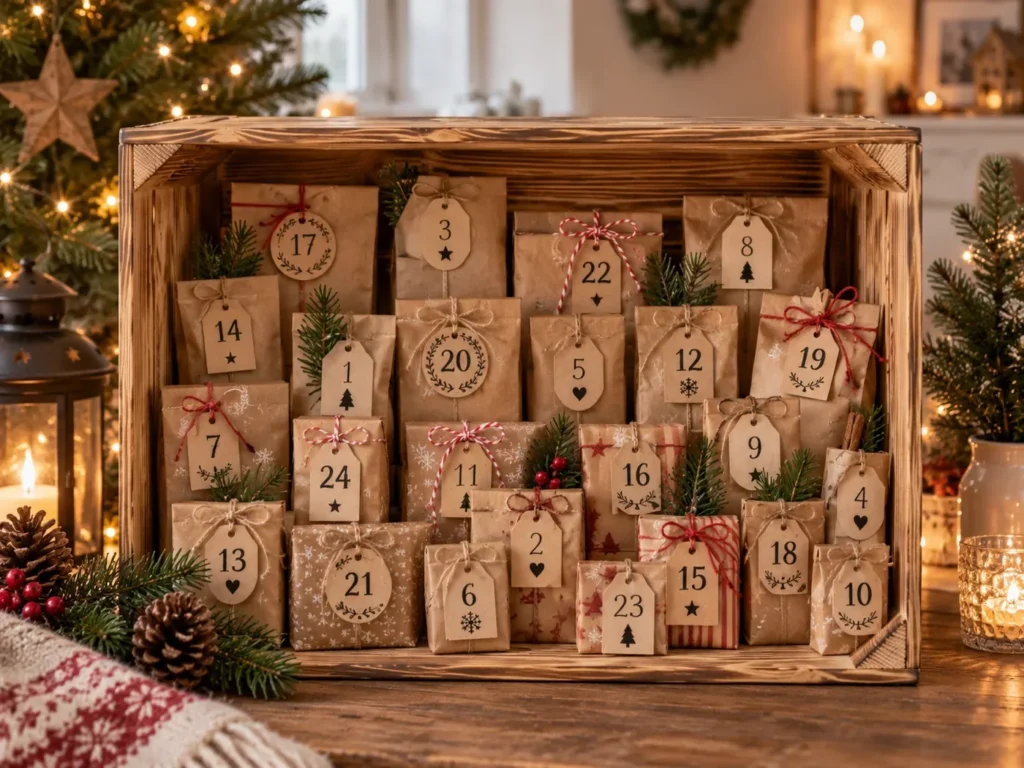
Planning a countdown to Christmas too? You will find ideas for a calendar in a crate in our article DIY Advent calendar. And if you are thinking about a Christmas gift, take a look at our guide how to make a gift hamper in a wooden crate – a centrepiece in a small crate also makes a lovely present for a grandmother, a teacher or a neighbour.
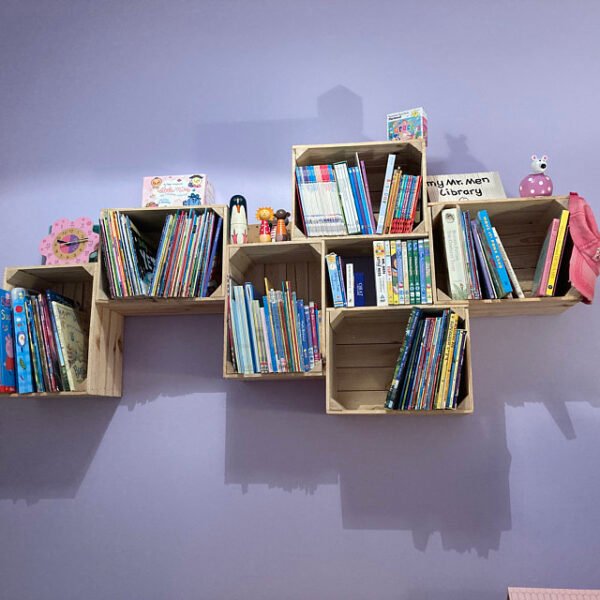
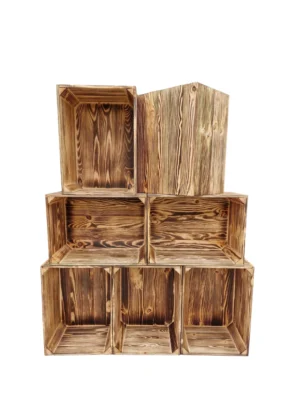
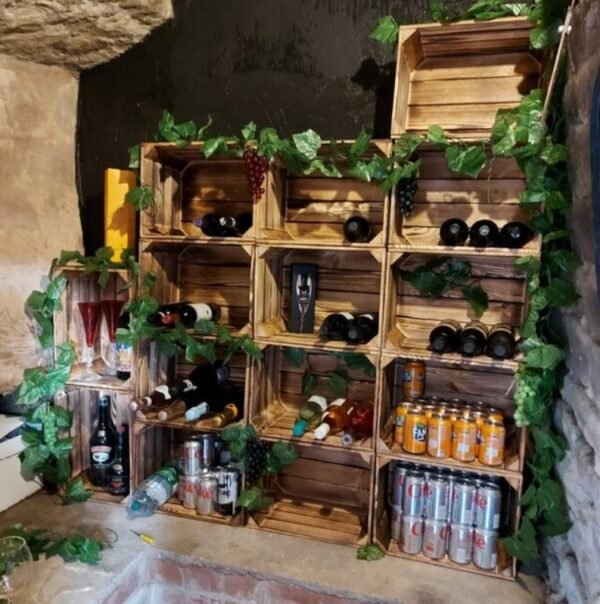
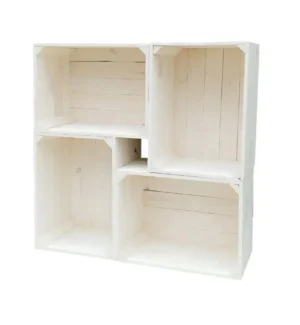
Crates for Christmas decorations at home

How to store your centrepiece and Christmas decorations after the holidays
After Epiphany the greenery goes on the compost, but everything else – baubles, candles, ribbons, pine cones, dried oranges, lights – is worth keeping for next year. Ideally in one place, in a sturdy container that protects the decorations from dust, damp and crushing.
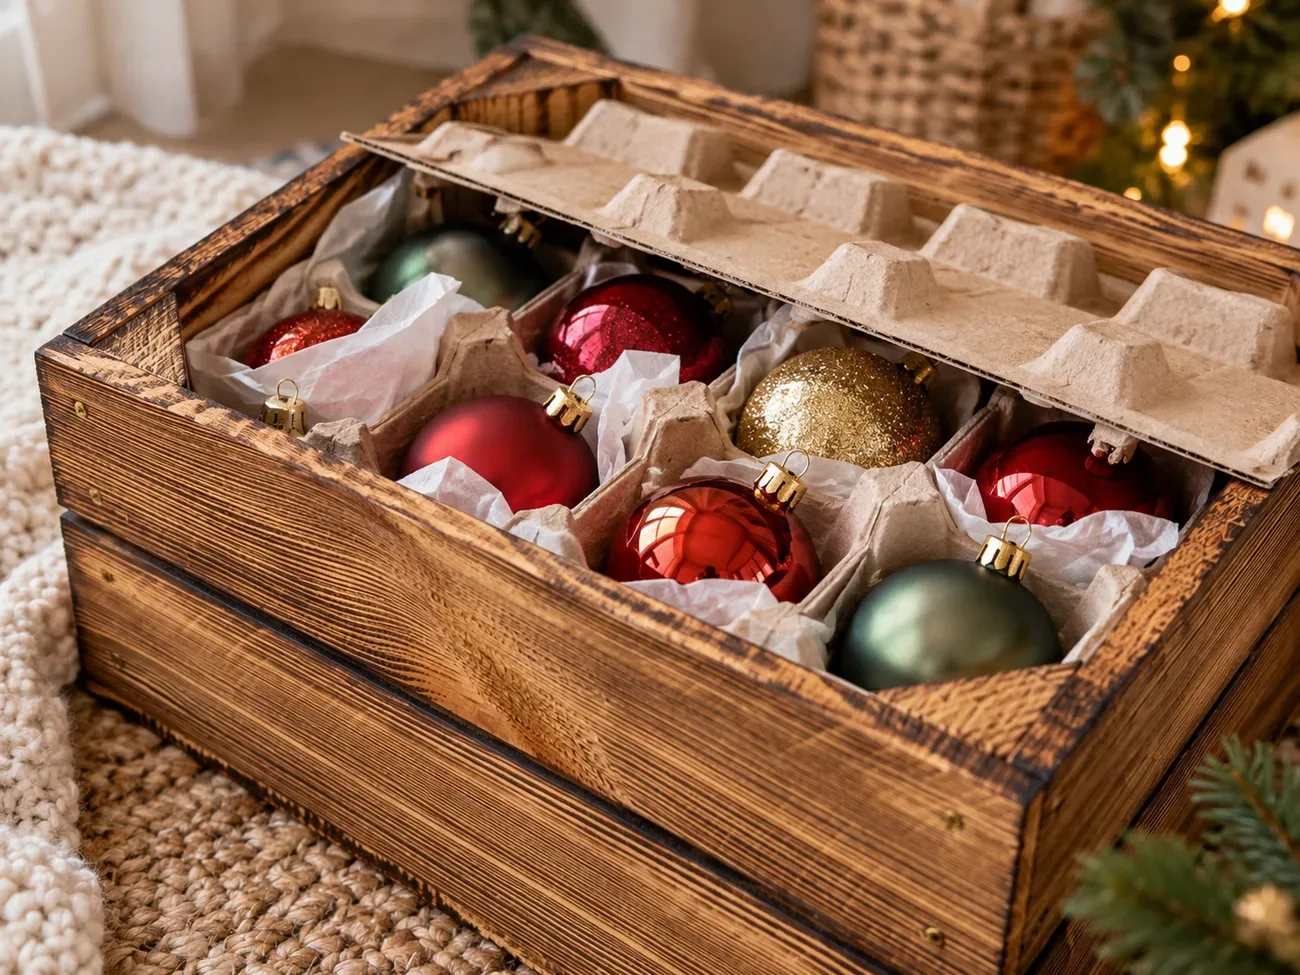
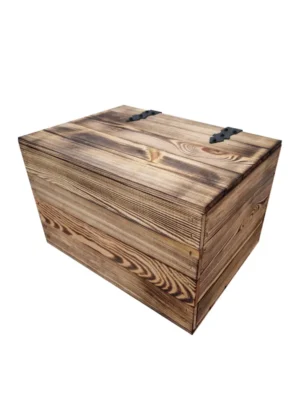
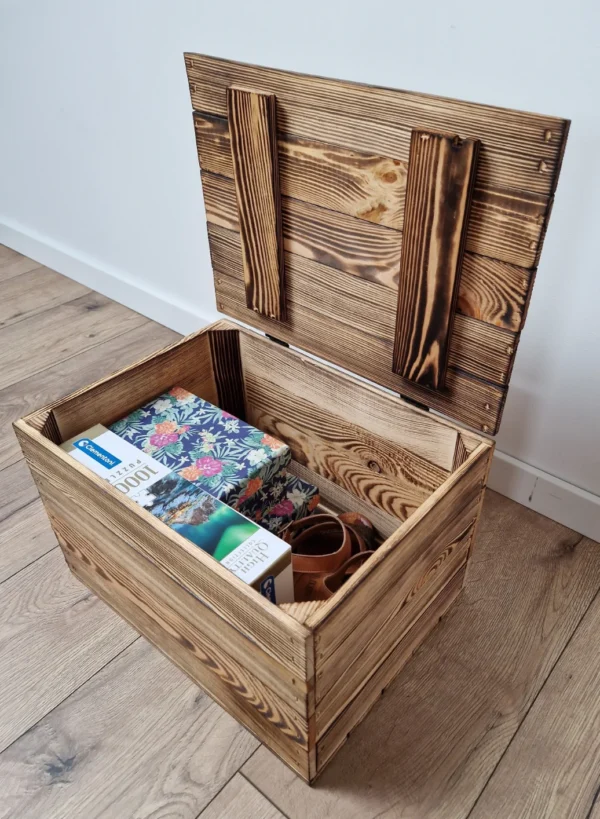
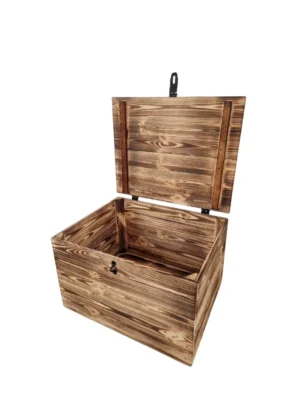
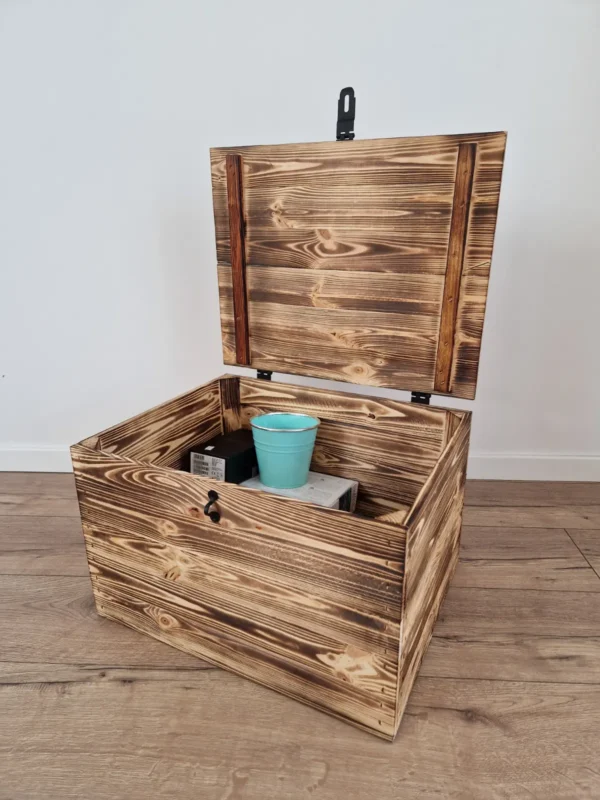
A wooden crate with a lid is ideal for this: it is rigid, so nothing inside gets crushed, the lid keeps out dust, and you can stack several on top of each other in a wardrobe, in the loft or in the cellar. A few tried-and-tested rules:
- Baubles – place them in egg boxes or apple trays, or wrap each one individually in tissue paper. Heaviest at the bottom, most delicate on top.
- Lights – wind them round a piece of cardboard or an empty roll – next year you will unwind them in a minute, without any tangles.
- Candles – wrap them in paper and store them somewhere cool, away from the radiator, so they do not lose their shape.
- Pine cones, dried fruit and cinnamon – keep them in a paper bag or a cloth pouch – that way they can breathe and will not absorb moisture.
- Centrepiece supplies – wire, cocktail sticks, ribbons, glue, spike candle holders – keep them in a separate small crate. In December you will have the whole kit ready to go straight away.
- Label the crates. A tag on a piece of string or a note stuck to the lid (“red baubles”, “lights and extension leads”, “centrepiece”) will save you a lot of searching.

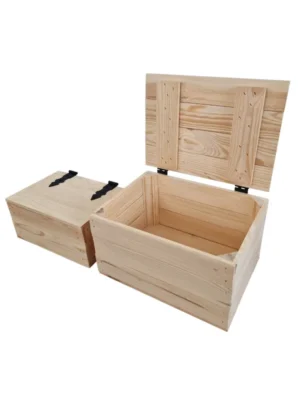
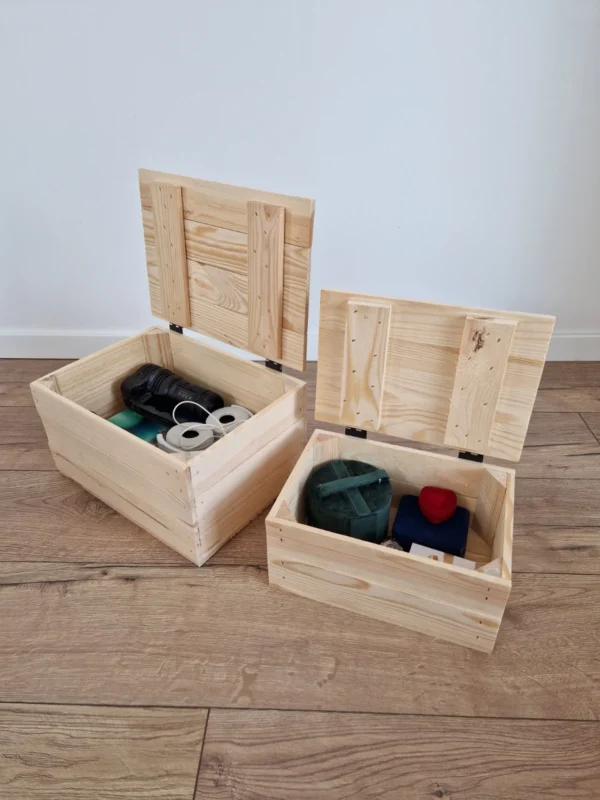
For baubles and small decorations, a set of 2 crates with lids, 30×20×16 cm, is ideal, and for lights, garlands and larger decorations – a 39×29×25 cm crate with a lid. If you really have a lot of decorations, choose a roomy 50×40×30 cm chest with a lid and a lock – it will hold your entire Christmas collection. You will find more ideas for keeping your home tidy all year round in our guide storage containers.
Crates with lids for Christmas decorations
The most common centrepiece mistakes – and how to avoid them
A few simple rules will make your centrepiece look as if it came from a florist and keep it fresh for longer. The same sprigs and cones work well in a Christmas hamper.
- A centrepiece that is too tall for the table. A Christmas table centrepiece works best when it stays below the eye level of seated guests. Tall candles – yes; tall greenery – no.
- Too many colours. Choose two main colours and one accent. Your centrepiece will instantly look more stylish.
- Elements lined up as if with a ruler. Group extras in threes, vary the heights and let the sprigs spill slightly over the edge of the crate.
- Dry foam. Foam that is soaked right through is the best way to make sure the greenery keeps its needles and scent.
- A candle too close to the greenery. Leave clear space around each candle and replace it before it burns down too low.
- A centrepiece next to the radiator. Heat dries out the greenery within days. Choose a spot away from radiators, fireplaces and wood-burning stoves.
Frequently asked questions
How do I make a Christmas centrepiece step by step?
Line a small wooden crate with plastic, put soaked floral foam inside, set the candles on cocktail sticks, then push in fir sprigs – first along the edges, then towards the centre. Finally, add pine cones, baubles, dried oranges and ribbon, grouping them in threes. The whole centrepiece takes about an hour.
How long does a Christmas centrepiece made with fresh greenery last?
A fir centrepiece that is watered regularly and kept away from the radiator usually stays fresh for a long time – often throughout the whole festive season. Spruce drops its needles faster, so it is best used as a filler. Every few days, add a little water to the foam and mist the sprigs.
What is the best centrepiece for the Christmas Eve table?
A low, oblong centrepiece that does not block your guests’ view works best. A good idea is several small crates lined up along the centre of the table – with fir, red candles, pine cones and a little hay. Each crate is easy to move when you need room for serving dishes.
How do I make an Advent centrepiece with 4 candles safely?
Choose thick, stable candles and anchor them firmly in the foam, well spaced apart. Keep the greenery around the candles short, mist it regularly and remove any dry sprigs. Place the centrepiece on a stable surface, away from curtains, and never leave lit candles unattended. In a home with small children or pets, LED candles are the most convenient option.
How do I make a modern Christmas arrangement in glass?
Take a large jar, vase or lantern, pour coarse salt or artificial snow into the bottom, then add a fir or eucalyptus sprig, a pine cone, two or three baubles in a single colour and a thin string of battery-powered LED lights. Stand it all on a wooden crate or board – the combination of glass and wood looks very elegant.
How should I store Christmas decorations so they do not get damaged?
Ideally in a rigid container with a lid, such as a wooden crate. Place baubles in moulded trays or wrap them in tissue paper, wind the lights round cardboard, wrap candles in paper and keep pine cones and dried fruit in paper bags. Label the crates – next year you will find what you are looking for straight away.
Is a centrepiece in a wooden crate a good gift?
Yes – it is a beautiful handmade present for a grandmother, mum, teacher or neighbour. The recipient gets a ready-made decoration straight away, and after Christmas they are left with a lovely crate for odds and ends. If you would rather let someone choose a crate themselves, you can give a gift card.
Summary – a centrepiece you can make in one evening
A Christmas centrepiece in a wooden crate combines the scent of fir, the warmth of wood and the glow of candles – and it is a decoration you really can make yourself, without any floristry experience. All you need is a small crate, a handful of sprigs, a few pine cones and one calm hour. Classic for the Christmas Eve table, modern and elegant, Scandinavian or an Advent version with four candles – choose the one that suits your home.
If you are looking for a crate for your centrepiece or for your Christmas decorations, take a look at our small crates and crates with lids categories, or at our bestsellers. We make all of them in our workshop from solid pine and send them out ready to use, with no assembly required. Have a question? Get in touch via our contact page – we will be happy to help you choose the right crate for your idea. Wishing you a merry Christmas filled with the scent of fir!

She loves brushes, wood stains and weekend projects. She tests every idea in practice and describes it step by step — with a list of what you need and the costs.
All articles by this author









Leave a comment